
I’ve been thinking about adding a CD changer for a while. When I saw the correct changer come up on ebay for a reasonable price I bought it …… but it came without a magazine. Magazines were being sold for more than I paid for the changer but I found a CD changer being sold as spares with a magazine which I got fairly cheaply. There is a (YouTube) trick to remove the magazine without powering up the unit ….. it even came with a full set of previous owners CDs which weren’t really to my taste.
Next was the cable which are remanufactured and being sold on ebay ….. about £60 delivered. Make sure you specify its for an RV8 to make sure you get one with a plug that is compatible. It’s quite straightforward to install it from the head unit to the CD location in the boot. Lift the central console and the panel in front of the battery cover then over the rear wheel arch through a gap in the corner into the boot.
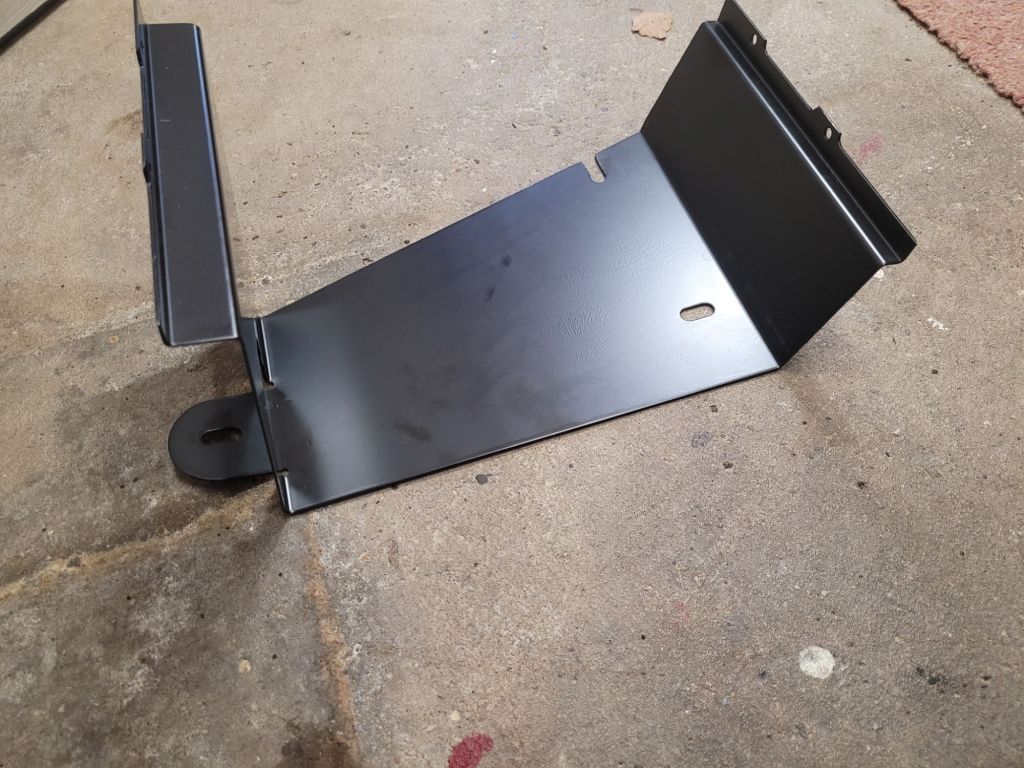
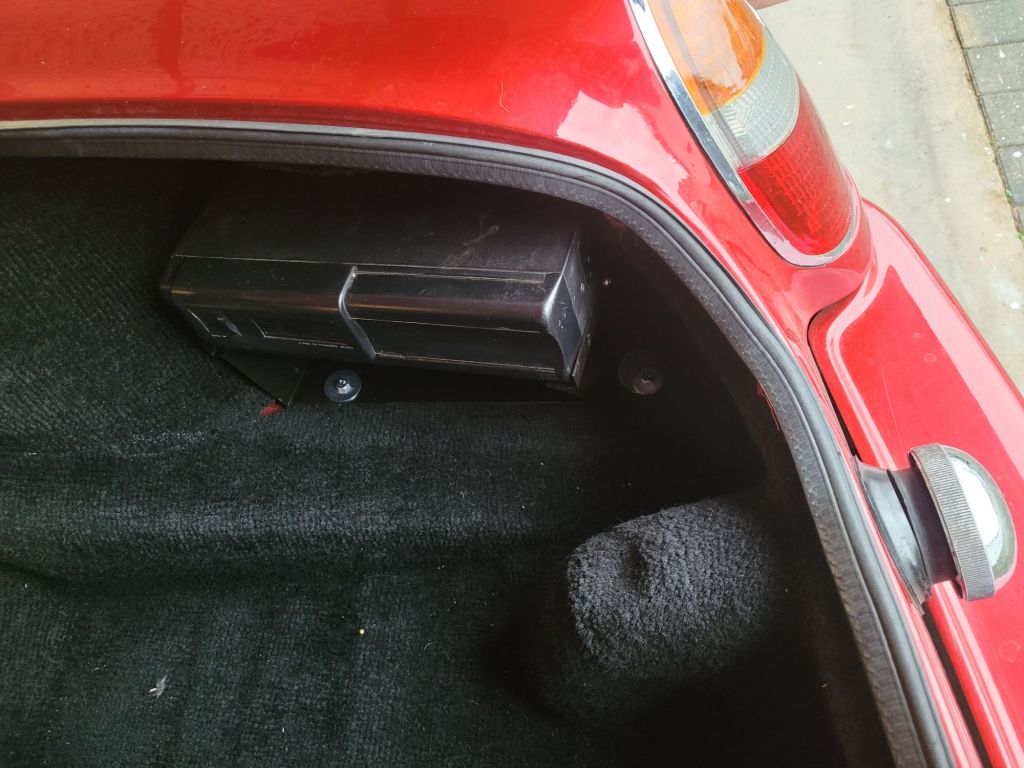
I was initially going to fit the cd changer to the boot floor beside the rear wheel arch but I found the original type mounting bracket for sale at Brown and Gammons about £35 delivered ….. so used that.
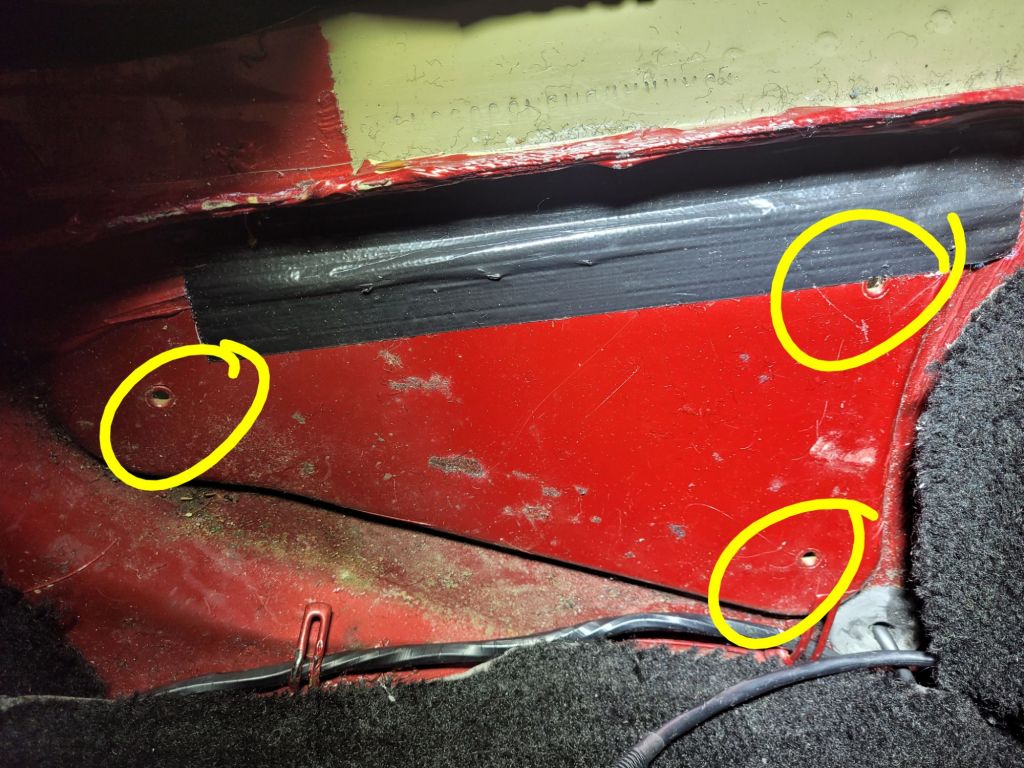
The mounting holes are already in the boot floor just need to knock out the little plugs to expose the threads. Even the boot carpet already has push out cutouts to put screws through.
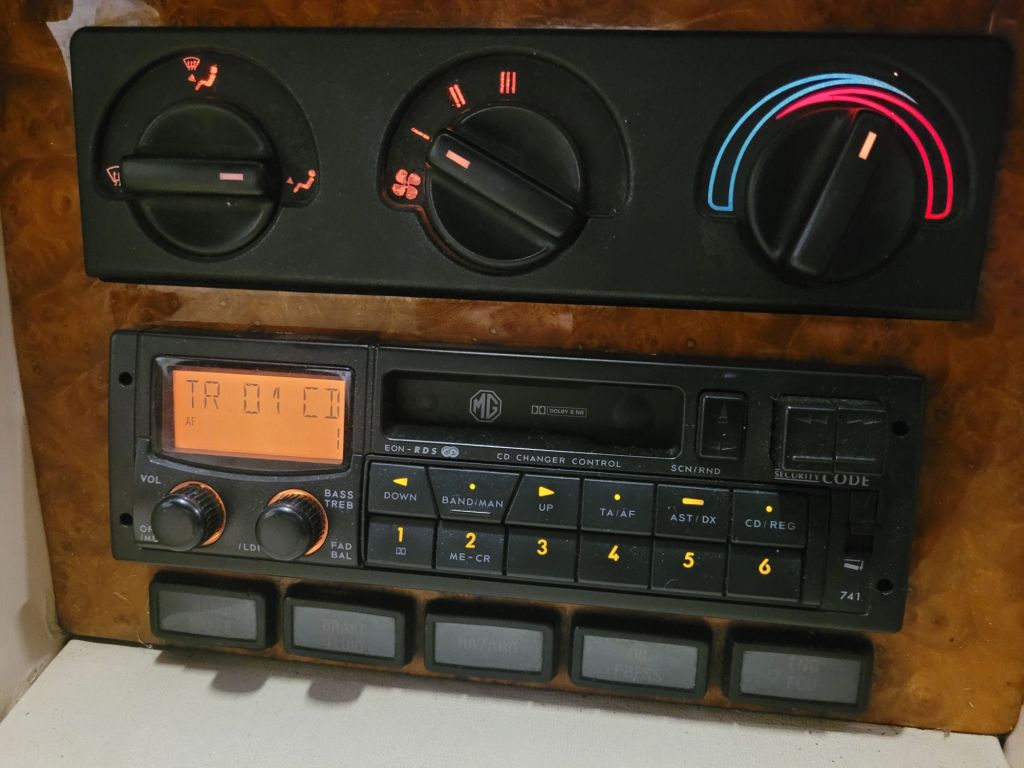
I know most RV8 owners would most likely take out the original radios and play music via Bluetooth. I prefer originality and the convenience of pre loaded music at the press of a button.
Just for the record the part nos for UK spec cars which I guess would work the same on Jap imports are:-
Head unit Philips 22DC741 as used in the early MGFs
Cable AMR4831
CD changer AMR3154 also used in the Discovery 1 a Philips 22DC 082
Bracket ZKC6414 Brown and Gammons
Update:- looks like above I’ve mounted the cd changer on the wrong side ….. see comments below. I think I got confused with pictures of the boot safe accessory.


Hello,I note your post re the CD changer bracket, I think you may have th
LikeLike
hi looks like the last part of your comment went missing. If I’ve made a mistake I would welcome your correction. Thanks. Steve
LikeLike
Hi Steve,
Not sure what happened there, but full message from yesterday here:
Hello,
I note your post re the CD changer bracket, I think you may have that on the wrong side. I’m sure the bracket is shaped for the N/S which is the side mine is fitted.
I think also the threads on the O/S are for a security box fitting maybe.
Anyway just a thought,
Regards
Julian
LikeLike
Yes you’re dead right. I reckon I must have mistaken a picture of the safe as the cd changer. Would explain a couple of things.
Looks like I’ve got a bit more work to do.
Thanks
Steve
LikeLike
Hi Steve,
Don’t know if this is any use, took a pic of mine for ref.
Regards
Julian
>
LikeLike