
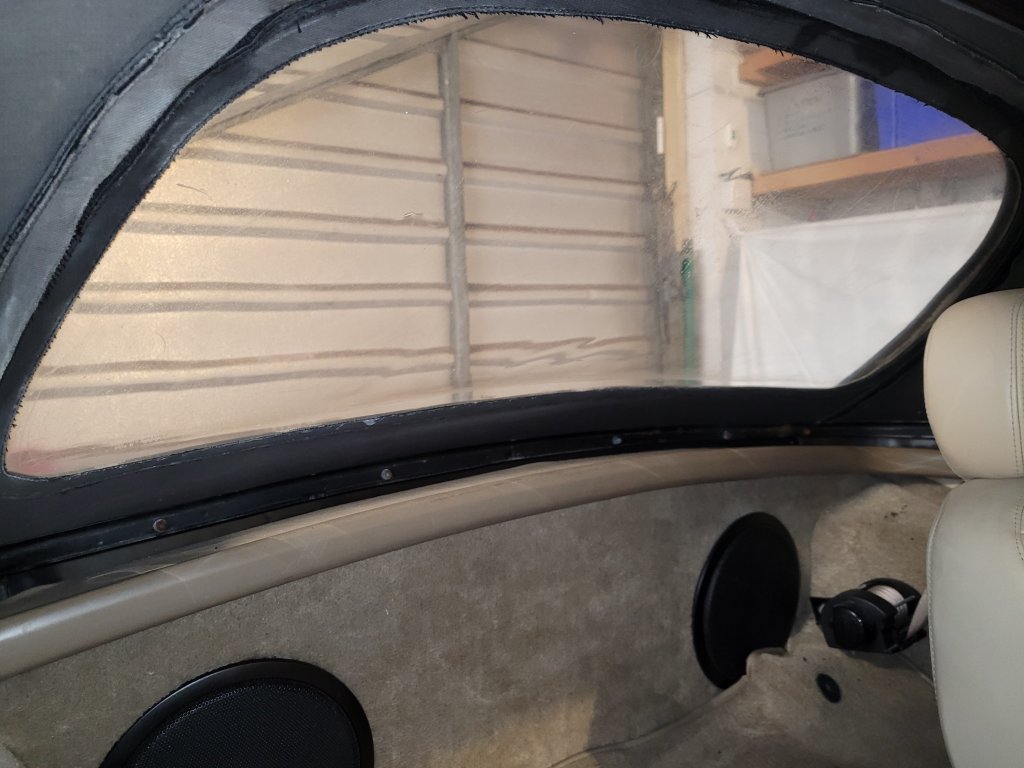
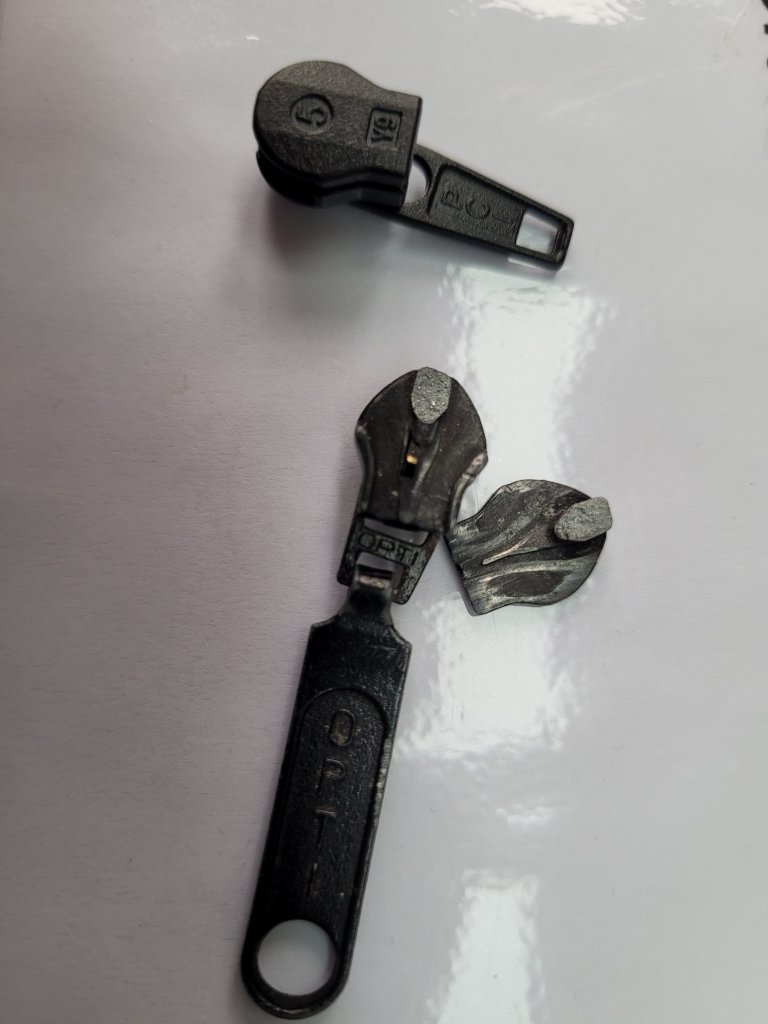
I had not taken the roof down since I have had the car so first to release the 2 clips over the front windscreen to release tension across the hood and unzip the rear window. But as soon as I started to move the zip I saw a problem that a lot of the zip was not holding together – and the slider was extremely stiff to move and became jammed solid! I used some pliers to get a better grip on the slider but alas! …. the slider broke in 2!!
Fortunately the zip itself seems to be in good condition – there’s no damaged or missing teeth – its just the slider that seems to have worn out and so not closing the zip.
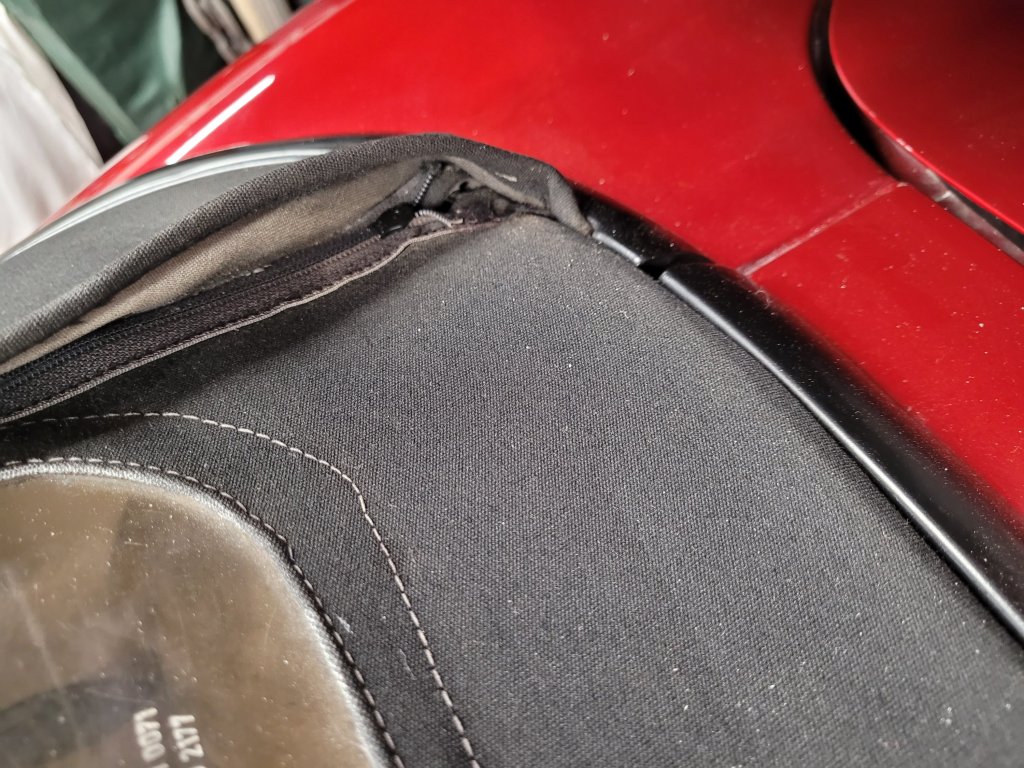
I found some zip sliders in my wife’s sewing draw but how do I get them on to the zip? After many different attempts the only way was to cut into the zip with a sharp knife. I chose a spot deep into the bottom of the hood base where the slider would not normally go in use. This worked and I got the slider onto the hood side of the zip ……. but all the sliders I found did not hold the zip together.
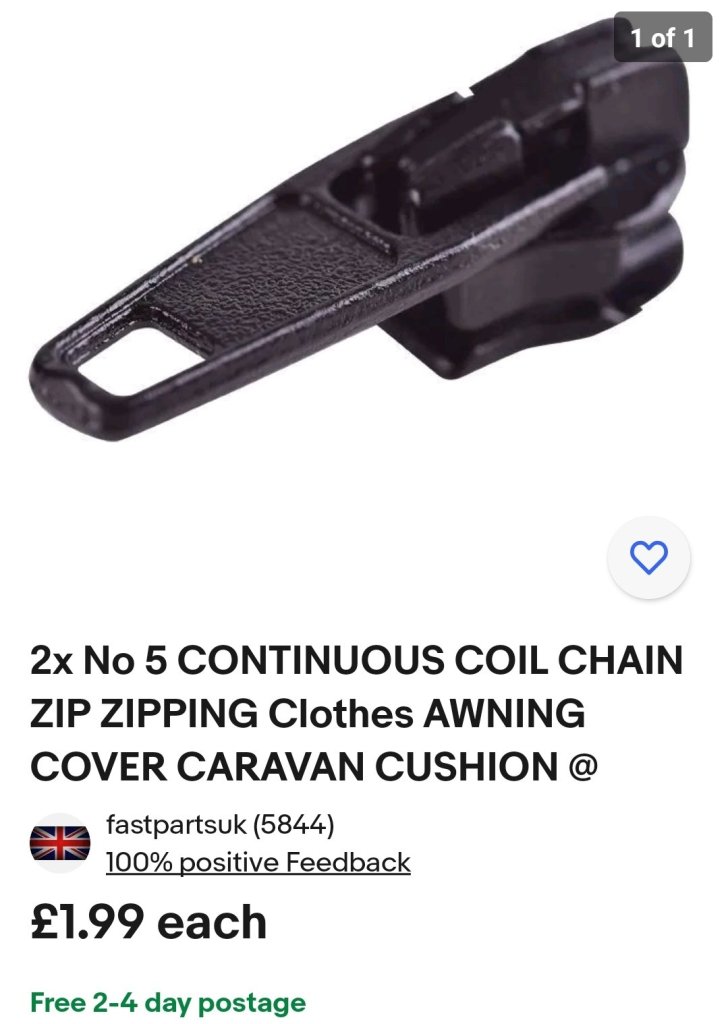
After some Internet research it would appear there are several different types of zip (apart from their physical size) which need the correct slider to work. The zip used on the hood would appear to be what is called a coil zip that requires a coil type slider. These coil zips tend to be used for hoods and tents etc where a certain degree of weather proofing is required.
I found some of the right size (no5) on ebay but where you can buy a 100 standard sliders for a tenner these coil type sliders are about £2 each! …… till negligible compared to having it repaired professionally if they work.
When these sliders arrived I lubricated the zip with a good dose of silicon spray and carefully removed quite a lot of the longer loose threads which were all along the seams adjacent to the zip – this was to prevent them being caught up in the zip and slider.
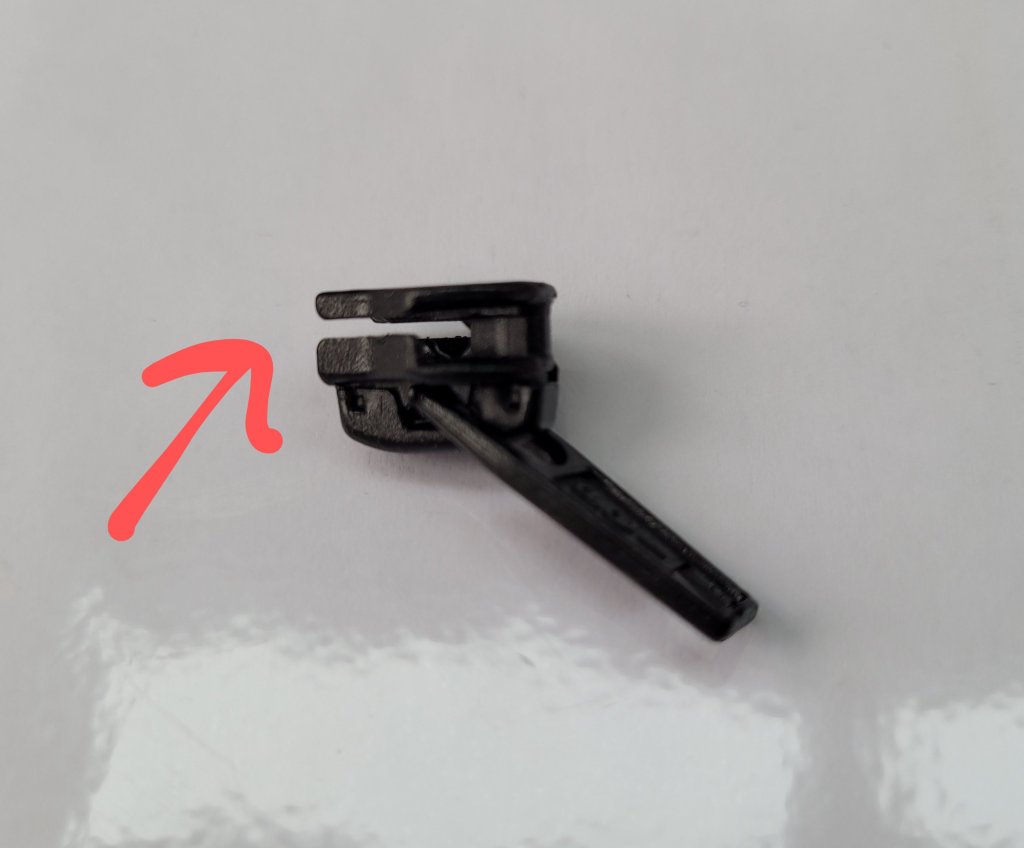
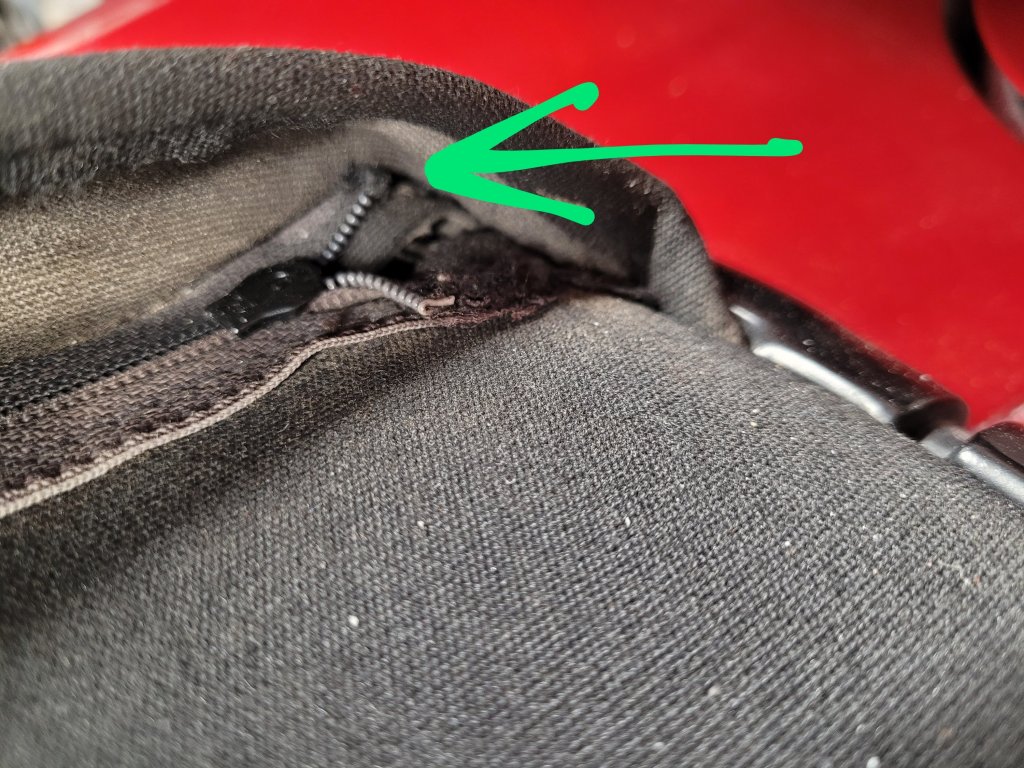
The new slider worked but on the first attempt parts of the closed zip came apart – it just needed a little more closing ability. So I removed the new slider and carefully closed up the trailing end with some pliers to make a slightly smaller gap (see photo/arrow). That when refitted then worked perfectly ….. and a relief that I’m not going to have to take it to a specialist to sort out.
Finally I sealed the end of the zip where I cut it with a dab of paint to prevent it from fraying. Again the cut is in a position beyond where the zip works so no risk that the slider will slide off.
I think after reading the RV8NOTES regular lubrication, releasing the front clips and removing any long threads from seams are the secret to keeping the zip working well.
